Automating App Store screenshots generation with Fastlane snapshot and Sketch
I’m embaraced to admit but I didn’t update App Store screenshots for our app in 6-8 months, and app on screenshots only barely resembles actual app you download.
I dreaded creating and styling screenshots for every screensize because I was doing it manually each time. It seemed such a waste of time when I could be working on shiny new features.
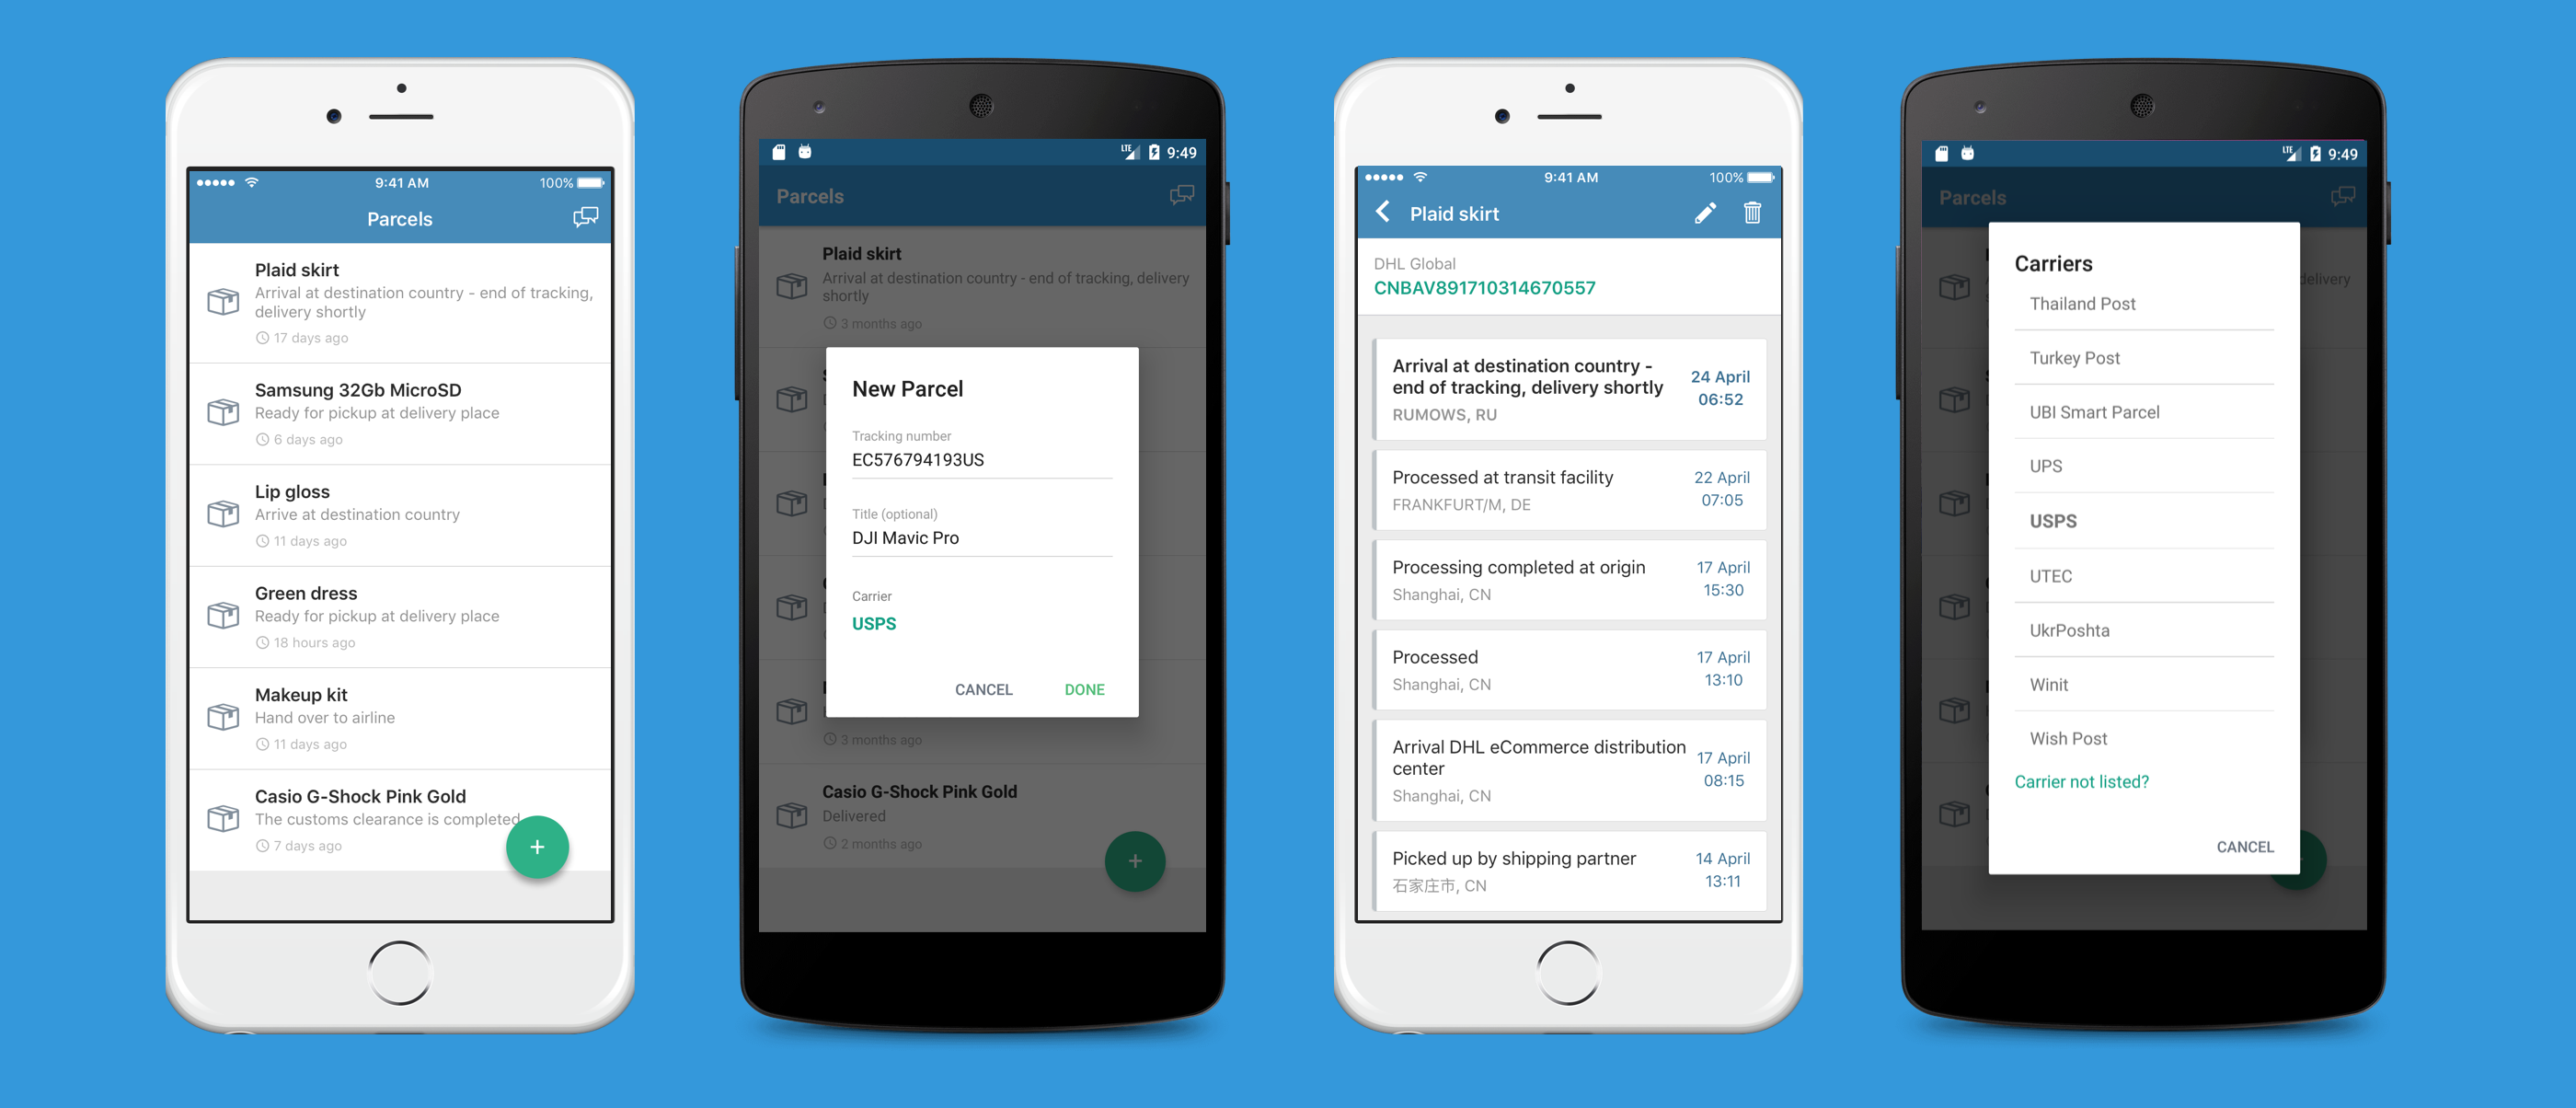
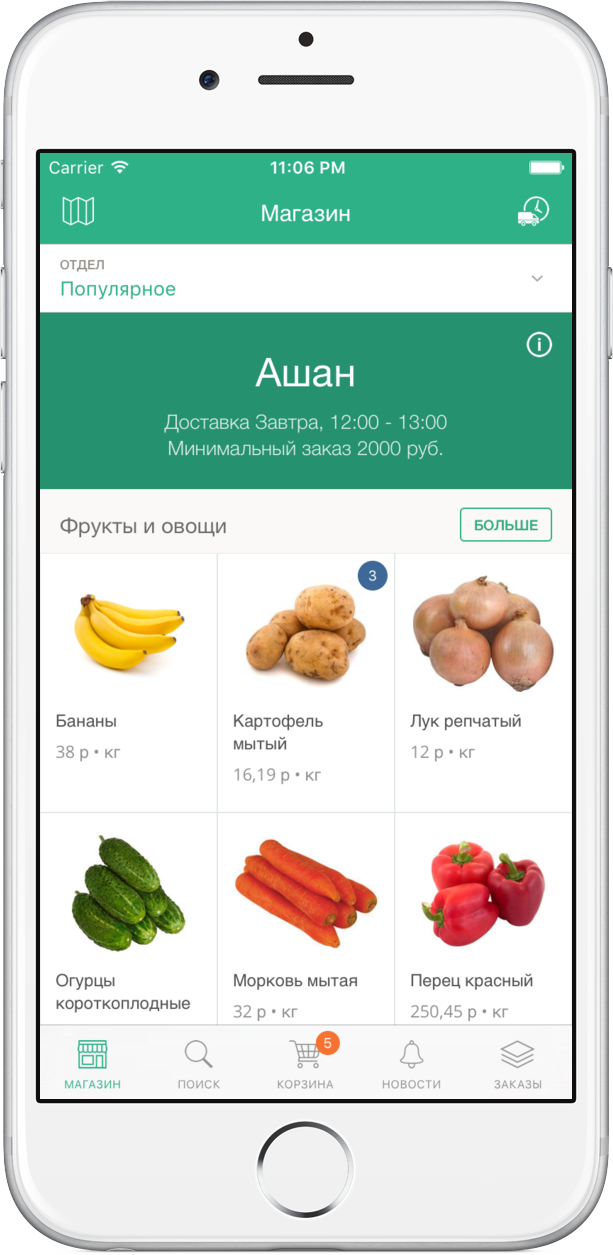
 App Store screenshots and actual app
Of course I was wrong, no matter how good the actual app, users judge it by the screenshots.
Finally I decided to automate App Store screenshot generation and picked up long forgotten Trello card from my backlog:
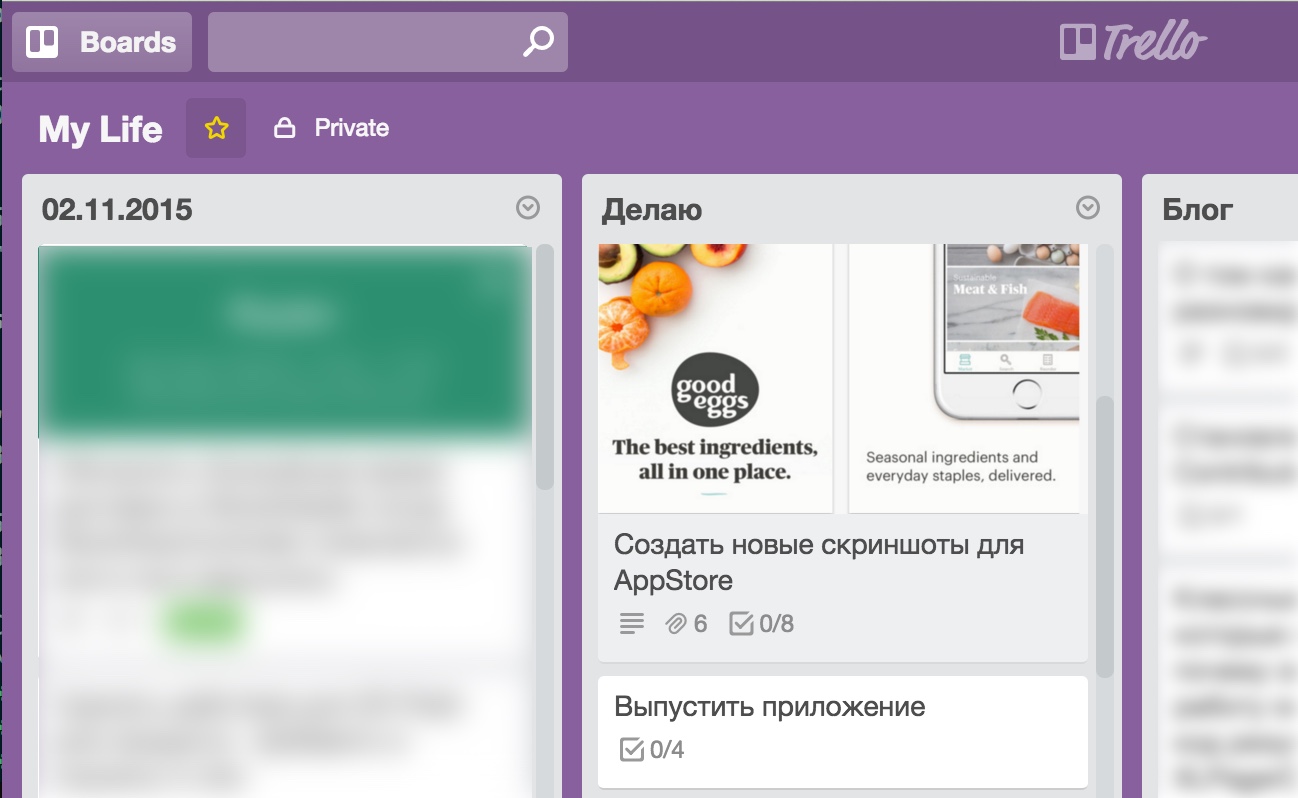 Trello Card
It says “Generate new App Store screenshots” and shows screenshots design I like from Good Eggs app.
Tools
I will use excellent Fastlane Snapshot tool. UI Testing is new for me, so everything below is what I learned during the process. If you would like to follow along, I strongly recommend reading Snapshot’s Quick Start section. I also found this tutorial for getting started with UI Tests.
 Automate taking localized screenshots of your iOS app on every device
Preparing UI Test suite
Start by creating UI Test target in Xcode project:

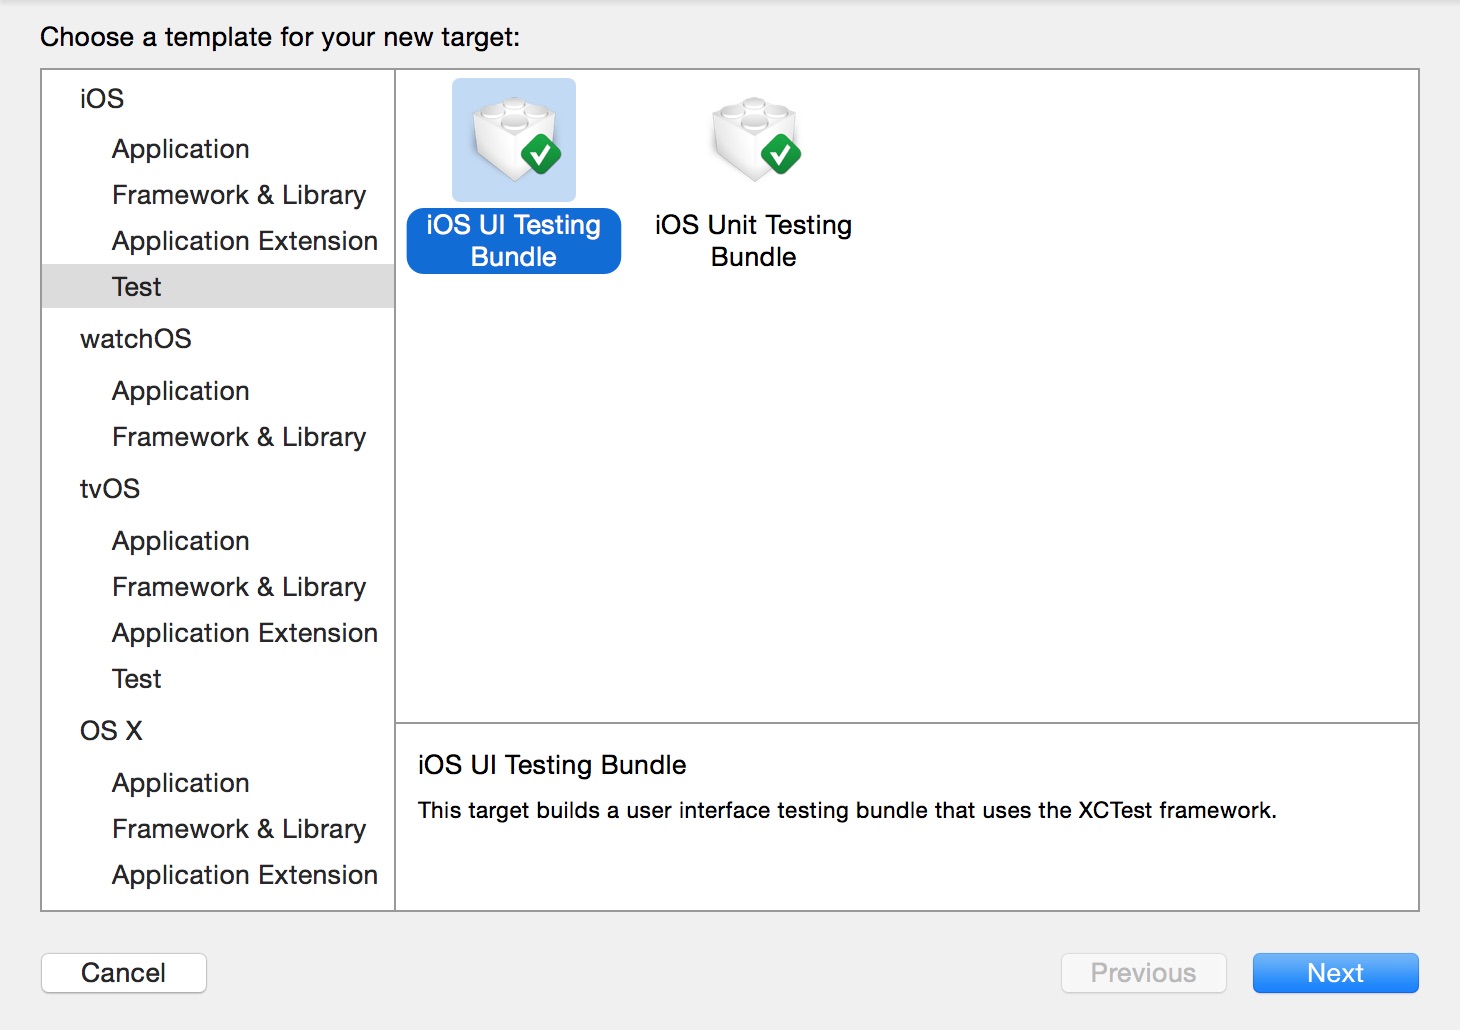 Editor->Add Target…
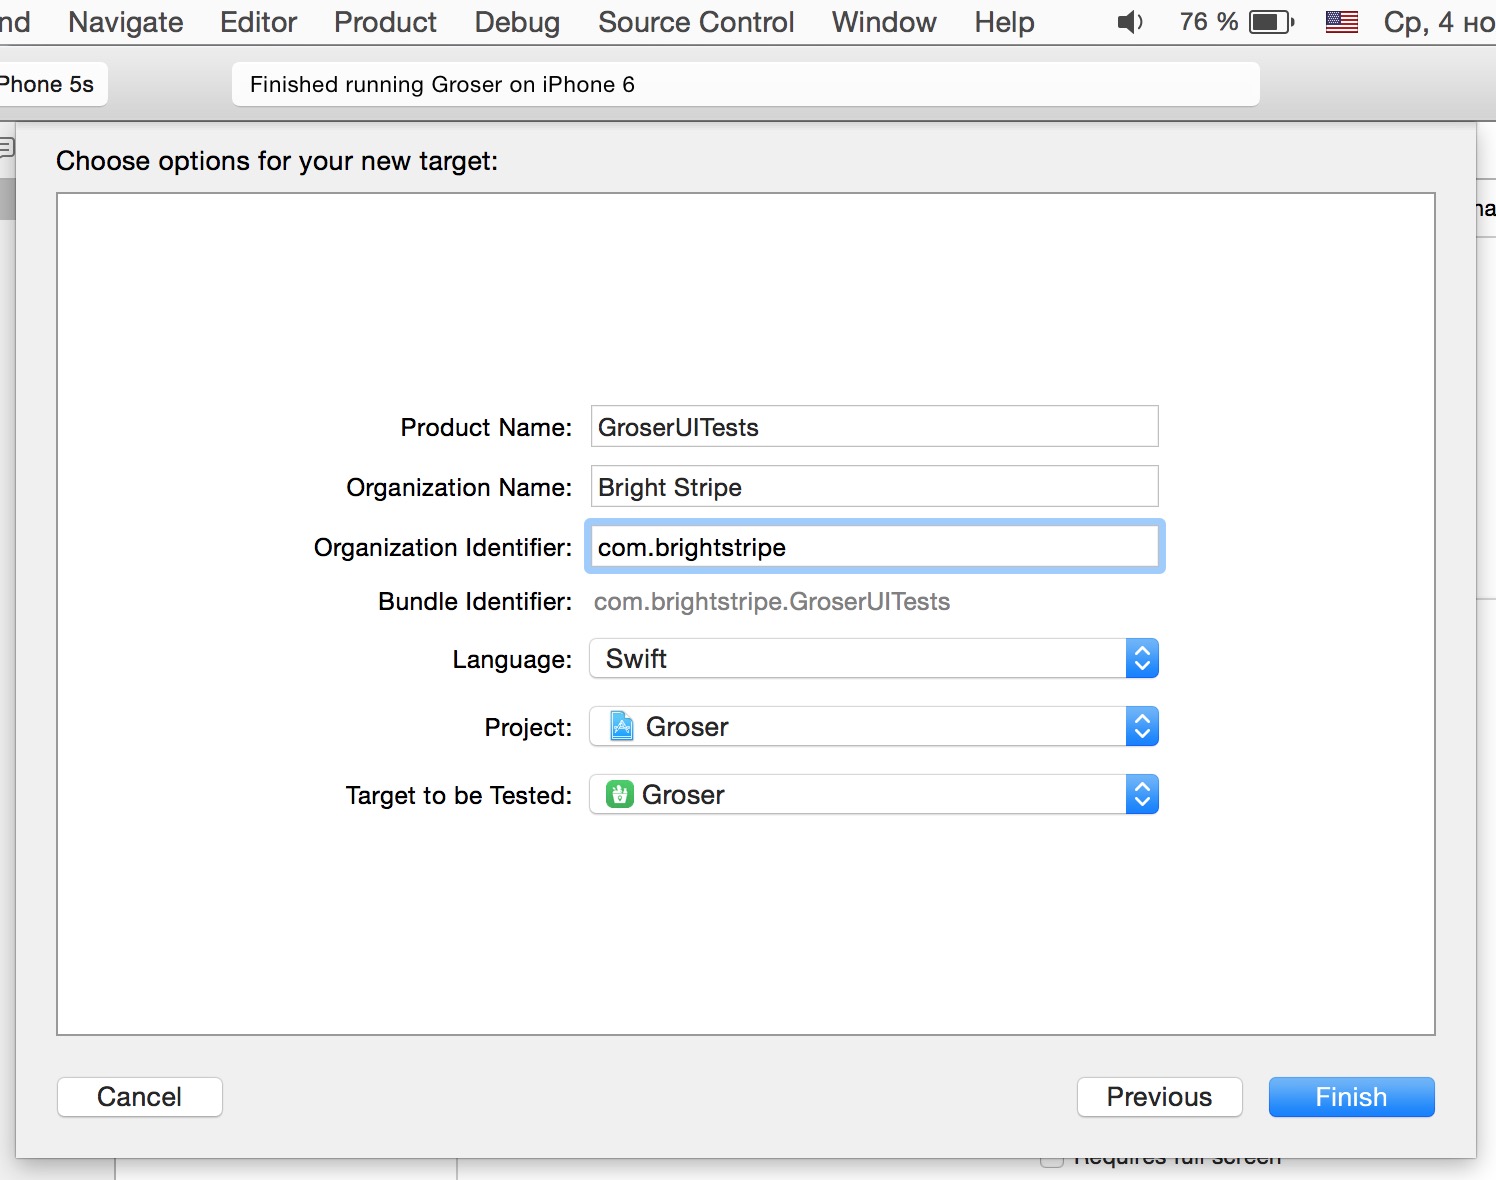 Setup UI Test Target
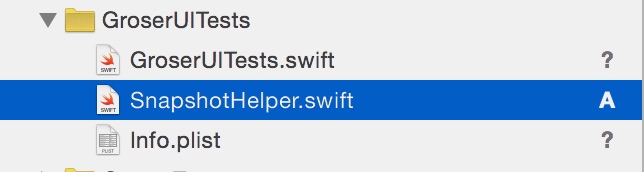
Run snapshot init in your Xcode project directory:
Groser git:(master) ✗ snapshot initand drag created SnapshotHelper.swift into UI Tests target:
Setup Snapfile configuration file, so I won’t have to pass any arguments to snapshot command:
Snapfile
# A list of devices you want to take the screenshots from
devices([
   "iPhone 6",
   "iPhone 6 Plus",
   "iPhone 5s",
   "iPhone 4s",
])

languages([
  "ru-RU"
])

# The name of the scheme which contains the UI Tests
scheme "Groser"

# Where should the resulting screenshots be stored?
output_directory "./screenshots"

clear_previous_screenshots true # remove the '#' to clear all previously generated screenshots before creating new ones

# Choose which project/workspace to use
workspace "./Groser.xcworkspace"
Next, I want to tell application when it’s running under UI Tests, so it will cooperate:
GroserUITests.swift
class GroserUITests: XCTestCase {

    override func setUp() {
        super.setUp()

        let app = XCUIApplication()
        app.launchEnvironment = [ "UITest": "1" ]
        setLanguage(app)
        app.launch()
    }
}
Instrument the app to cooperate with UI Test suite
I want to disable coach marks added in previous post for UI Test. Let’s static method into GRGroser singleton and check it in GRUser extension to disable coach marks:
GRGroser.m
@implementation GRGroser

+ (BOOL)isUITest {
#ifdef DEBUG
    return [[NSProcessInfo processInfo].environment hasKey:@"UITest"];
#else
    return NO;
#endif
}

@end
UserInstructions.swift
extension GRUser {
  func shouldCoachFor(screen: InstructionScreens?) -> Bool {
      if GRGroser.isUITest() { return false }

      ...
  }
}
What to show in screenshots
I want to take 5 screenshots:
- Sign up screen with value proposition
- Store with products
- Product
- Cart
- News feed
In Store screen I want to show some products as already in cart. In Cart screen I want to show 5 products.
To not spend time creating code to add products into cart, I added them manually. In UI Test I will use Log In screen to sign in and the app will fetch cart contents from the server.
Recording UI Test
Place cursor somewhere inside test method where Xcode will write UI Test code as a result of your interaction with the app, press red record button in the buttom left corner, and start clicking to access all screens we are interested in:
 Preparing to record UI Test
As of now, Xcode 7.1 has a bug which outputs strings with Unicode characters formatted for Objective C instead for Swift. In Swift unicode chars should be formatted as \u{041a}. I changed them to actual text in Russian:
let app = XCUIApplication()
app.tabBars.buttons["\U041a\U041e\U0420\U0417\U0418\U041d\U0410"].tap()
app.buttons["\U0412\U043e\U0439\U0442\U0438"].tap()
Generated SnapshotHelper.swift snapshot method performs offscreen drag gesture, to capture screenshot, and this activates last tab in my app, breaking UI Test.
SnapshotHelper.swift
class func snapshot(name: String, waitForLoadingIndicator: Bool = false)
{
    if (waitForLoadingIndicator)
    {
        waitForLoadingIndicatorToDisappear()
    }
    print("snapshot: \(name)") // more information about this, check out https://github.com/krausefx/snapshot

    let view = XCUIApplication()
    let start = view.coordinateWithNormalizedOffset(CGVectorMake(32.10, 30000))
    let finish = view.coordinateWithNormalizedOffset(CGVectorMake(31, 30000))
    start.pressForDuration(0, thenDragToCoordinate: finish)
    sleep(1)
}
I found out about this after scratching my head for close to 1 hour by reading Xcode debug output:

There is an open issue for that bug. I ended up disabling tab selection from from my custom UITabBarController during UI Test:
GroserController.swift
func tabBarController(tabBarController: UITabBarController, shouldSelectViewController viewController: UIViewController) -> Bool {
if (viewController == orderHistoryController && GRGroser.isUITest()) {
return false
}
return true
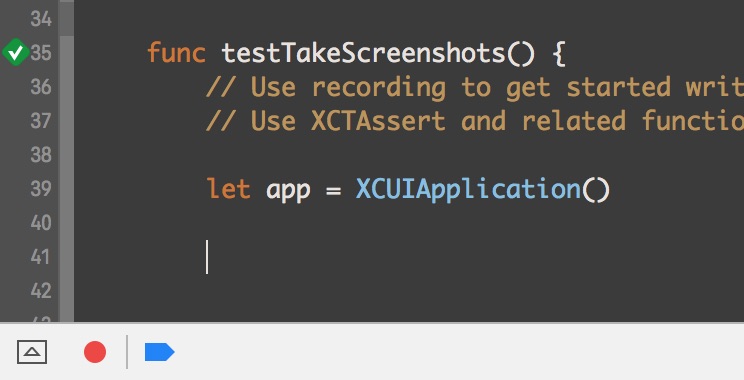
}Final UI test code to access all screens and capture screenshots:
func testTakeScreenshots() {
    let app = XCUIApplication()

    // Tapping Cart tab opens Sign In screen
    app.tabBars.buttons["КОРЗИНА"].tap()

    snapshot("0SignIn")

    // Tap sign in button
    app.buttons["Войти"].tap()

    let tablesQuery = app.tables

    // Enter email
    tablesQuery.textFields.elementBoundByIndex(0).tap()
    tablesQuery.textFields.elementBoundByIndex(0).typeText("tisunov.pavel@gmail.com")
    // Enter password
    tablesQuery.secureTextFields.elementBoundByIndex(0).tap()
    tablesQuery.secureTextFields.elementBoundByIndex(0).typeText("kpqfch")

    // Login and dismiss modal controller
    app.navigationBars["Вход"].buttons["Войти"].tap()

    snapshot("1Store")

    // Open first product: Bananas
    let collectionViewCellsQuery = app.collectionViews.elementBoundByIndex(0).cells
    collectionViewCellsQuery.elementBoundByIndex(0).tap()

    snapshot("2Product")

    // Close Product controller
    app.navigationBars["GRProductView"].buttons["close"].tap()

    // Tap Cart tab
    app.tabBars.buttons["КОРЗИНА"].tap()

    snapshot("3Cart")

    // Tap News Feed tab
    app.tabBars.buttons["НОВОСТИ"].tap()

    snapshot("4NewsFeed")
}
Let’s run and see UI Test in action:
Snapshot waits until activity indicator disappears before proceeding further, because of that you can see slight pauses. Also note there are no animations during test, cause I turned them off in AppDelegate.m along with cleaning up status bar with SimulatorStatusMagic:
- (BOOL)application:(UIApplication *)application didFinishLaunchingWithOptions:(NSDictionary *)launchOptions
{
    if ([GGroser isUITest]) {
        [UIView setAnimationsEnabled:NO];
        [[SDStatusBarManager sharedInstance] enableOverrides];
    }
}
Generate screenshots for all devices
Run snapshot from command line, and let it run for a while:
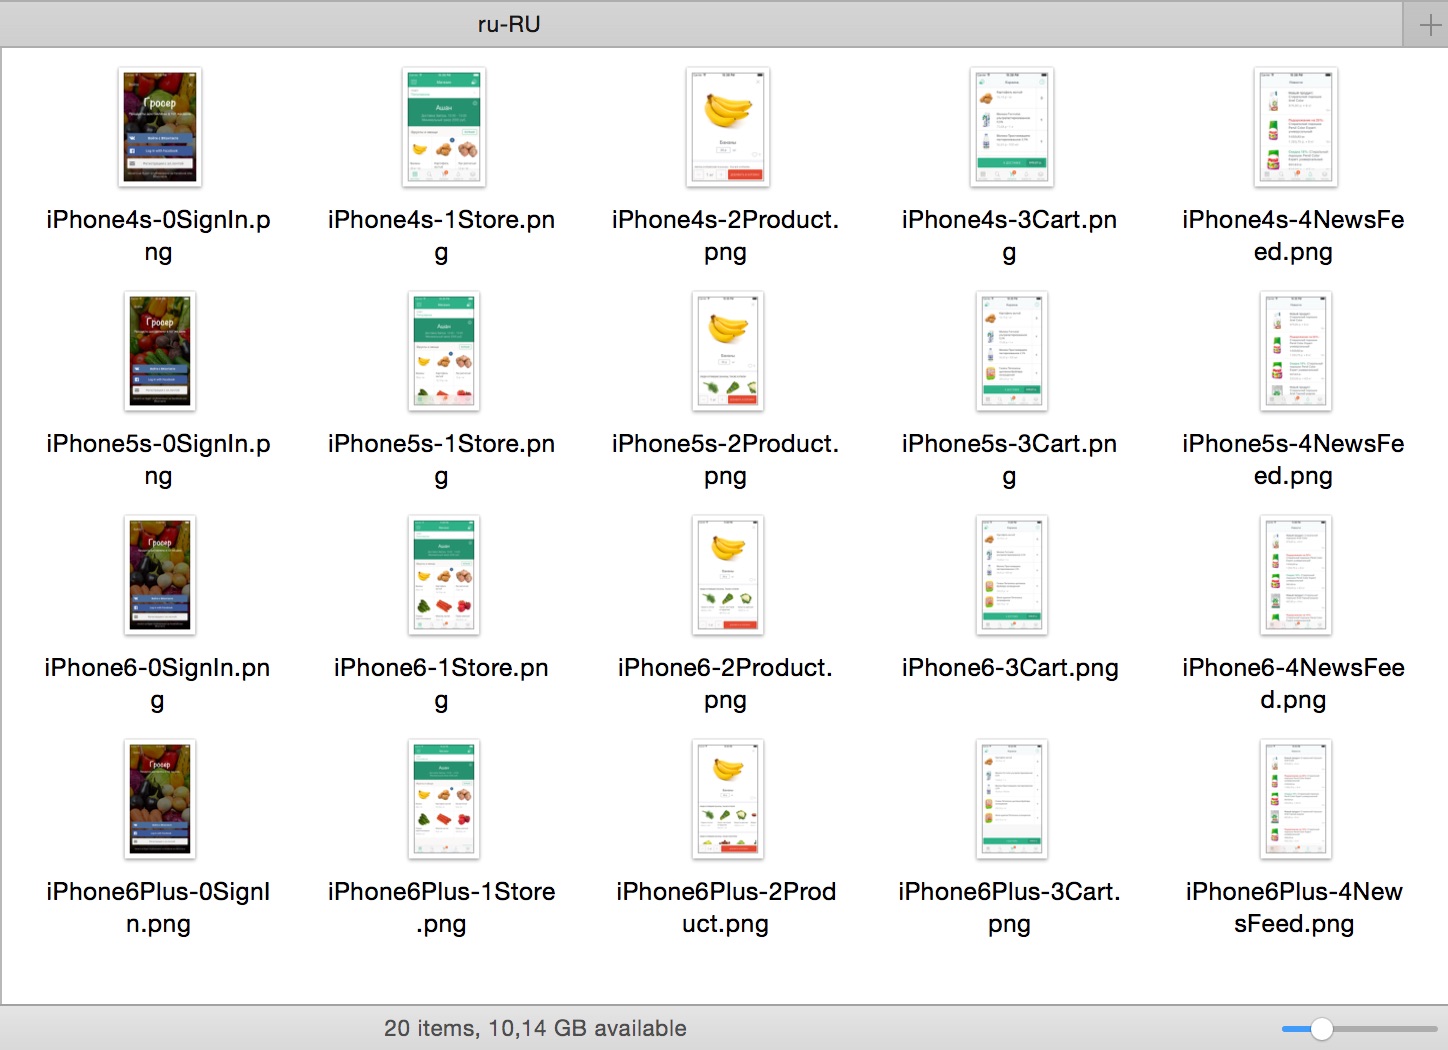 Generated Screenshots
After several segmentation faults and other mystic errors, I had to disable clear_previous_screenshots option to keep existing screenshots and generate missing ones. Just delete /tmp/snapshot_derived/ folder and reset simulators.
Framing screenshots with device frames
I like to frame screenshots to show them in context of the device. Felix Krause did fantastic job with his suite of Fastlane tools, one of which is Frameit. I’ll automate screenshot framing by following his guide.

After downloading and unpacking offical Apple iPhone device images, I found out that there are no device frames for iPhone 4/4s. I found white iPhone 4 frame on the internet, stripped everything but the device image, named it iPhone_4_Vert_Slvr_sRGB.psd as frameit expects. To my delight everything went smooth, as frameit picked up 3.5” device frame and did its job.
Here is the Dropbox link to the white iPhone 4 PSD to be used with frameit. Download and unpack there ~/.frameit/devices_frames/iPhone 4s/Silver/iPhone_4_Vert_Slvr_sRGB.psd
You also need to open each .PSD file and disable status bar (if you took screenshots with status bar) and screen placeholder, you would not like the result without doing this.
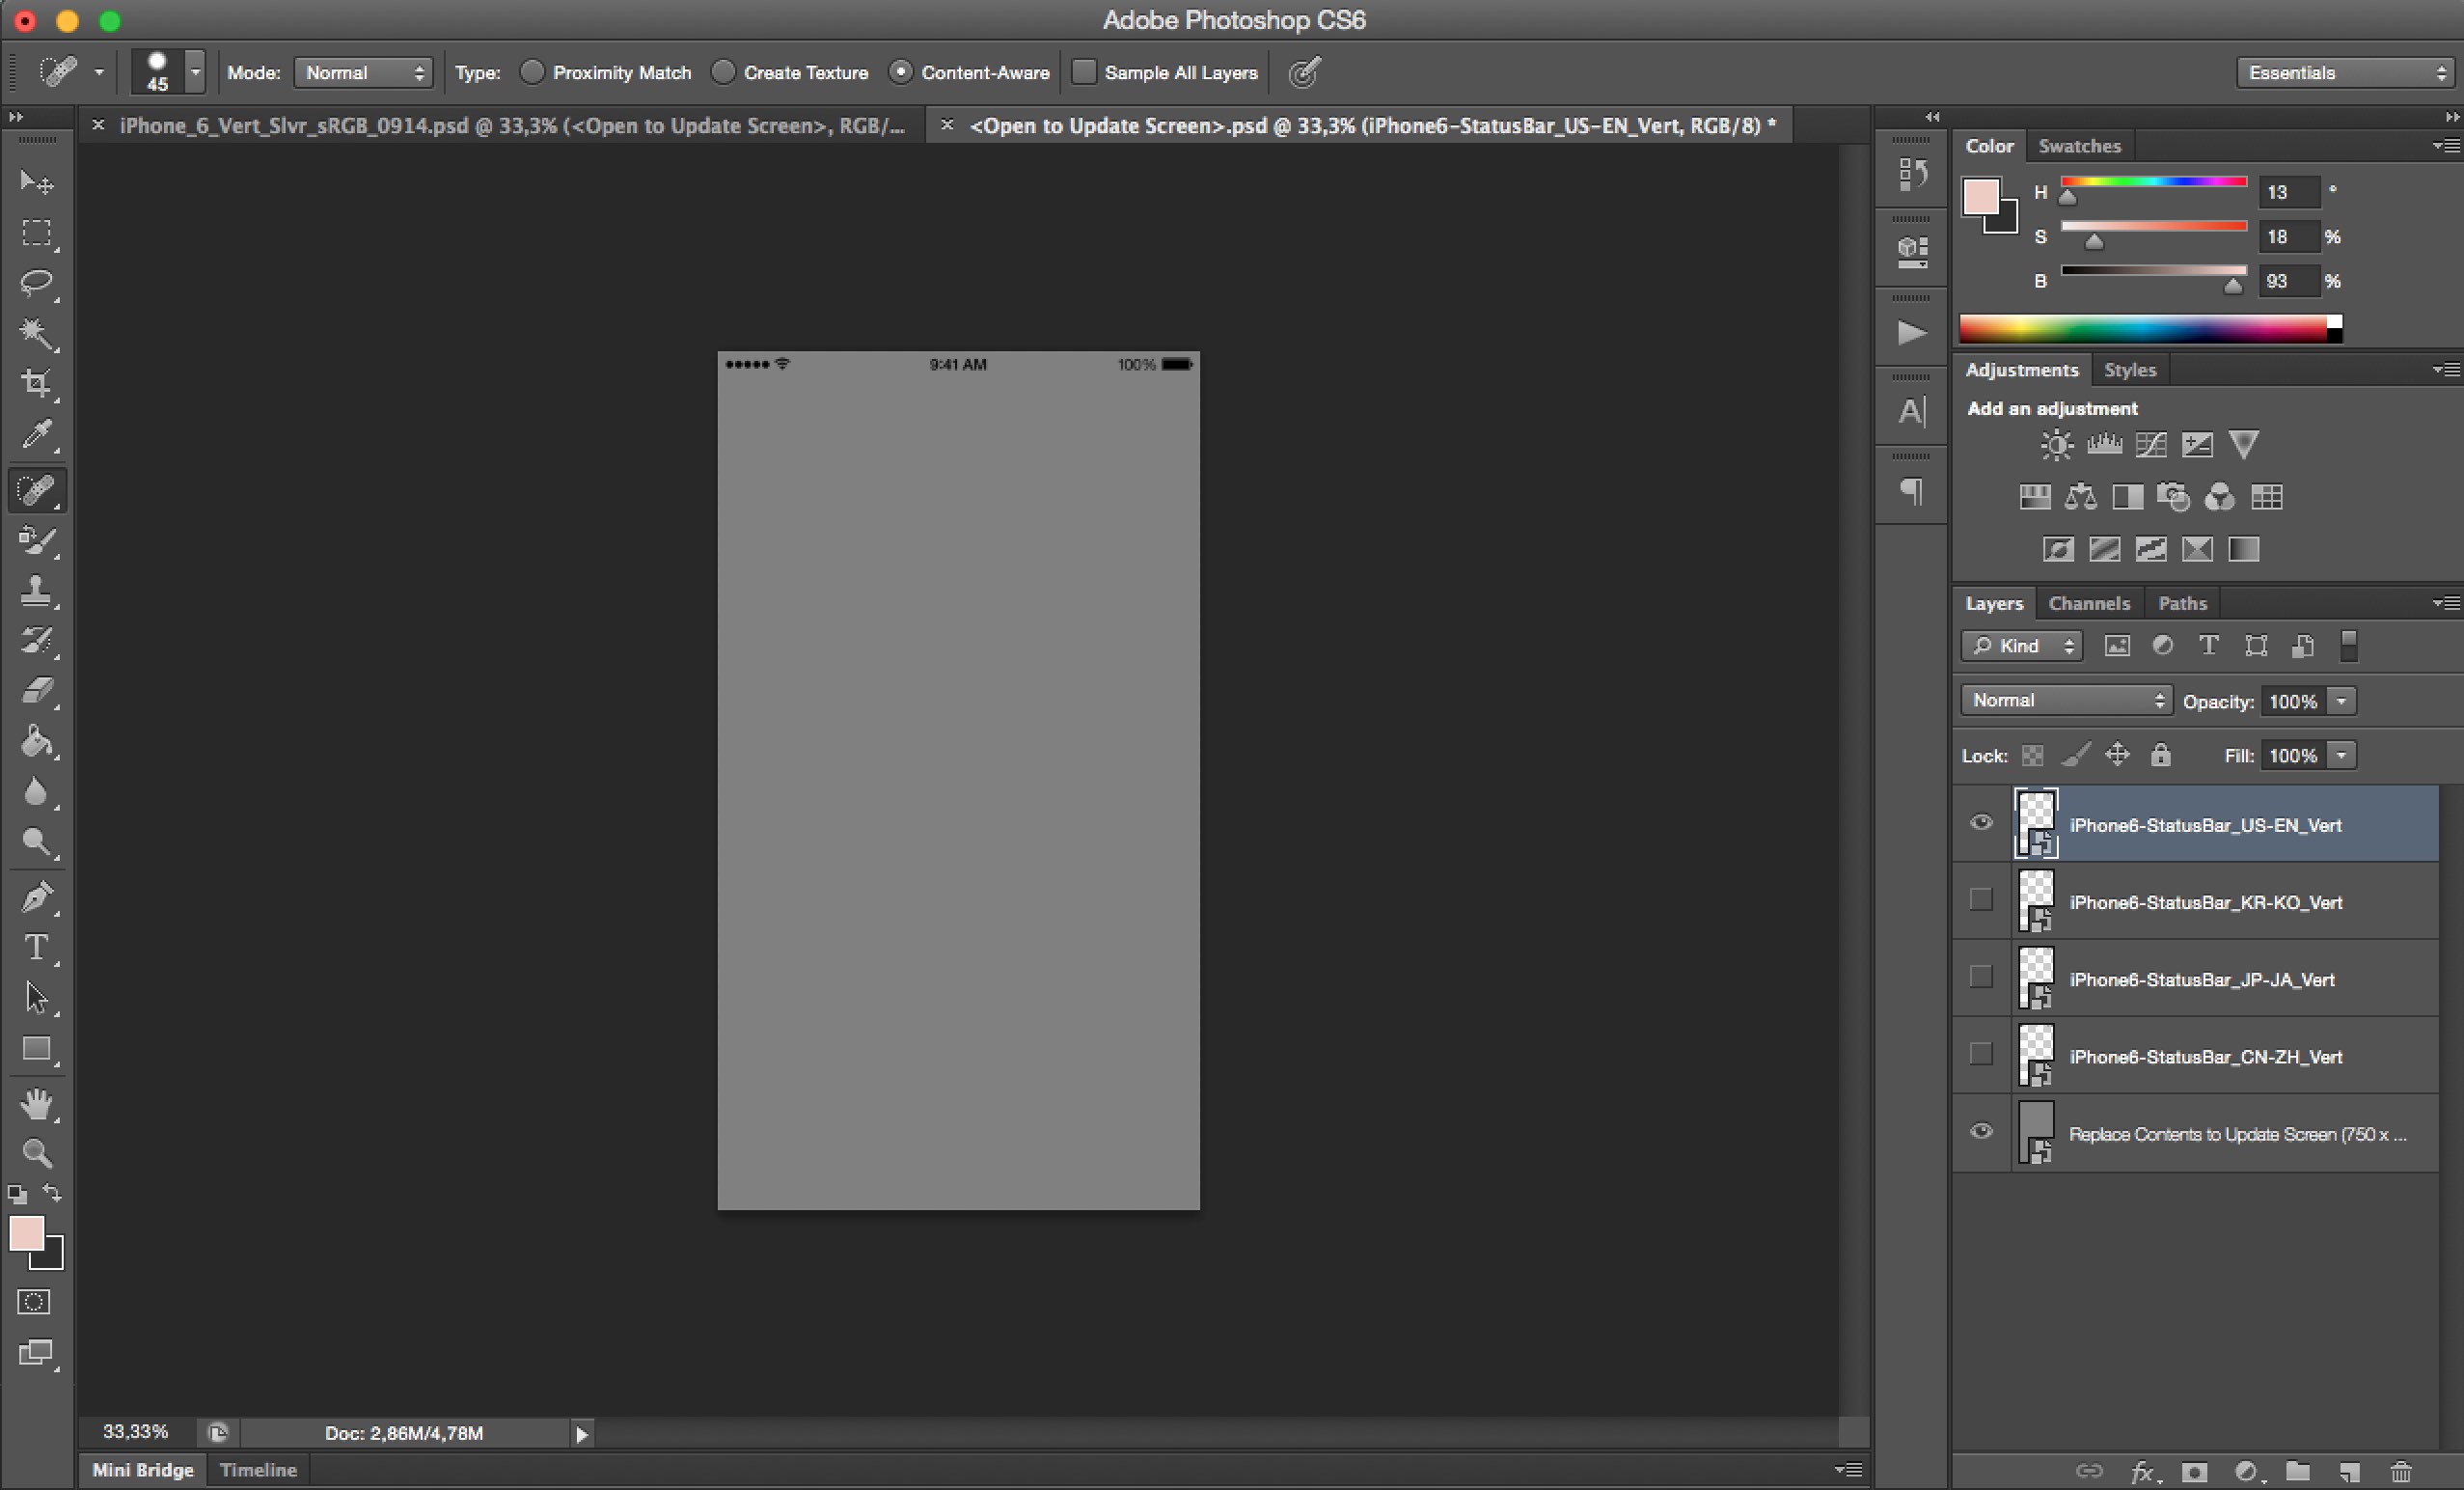 Photoshop Template with grey screen placeholder
I had to patch frameit offsets, to increase top screenshot offset by 1px for 4” devices, cause I didn’t like screenshot aligment:
/Users/tisunov/.rvm/gems/ruby-2.1.1/gems/frameit-2.3.0/lib/frameit/offsets.rb
when size::IOS_40
  return {
    'offset' => "+54+198",
    'width' => 544
  }
Final result:
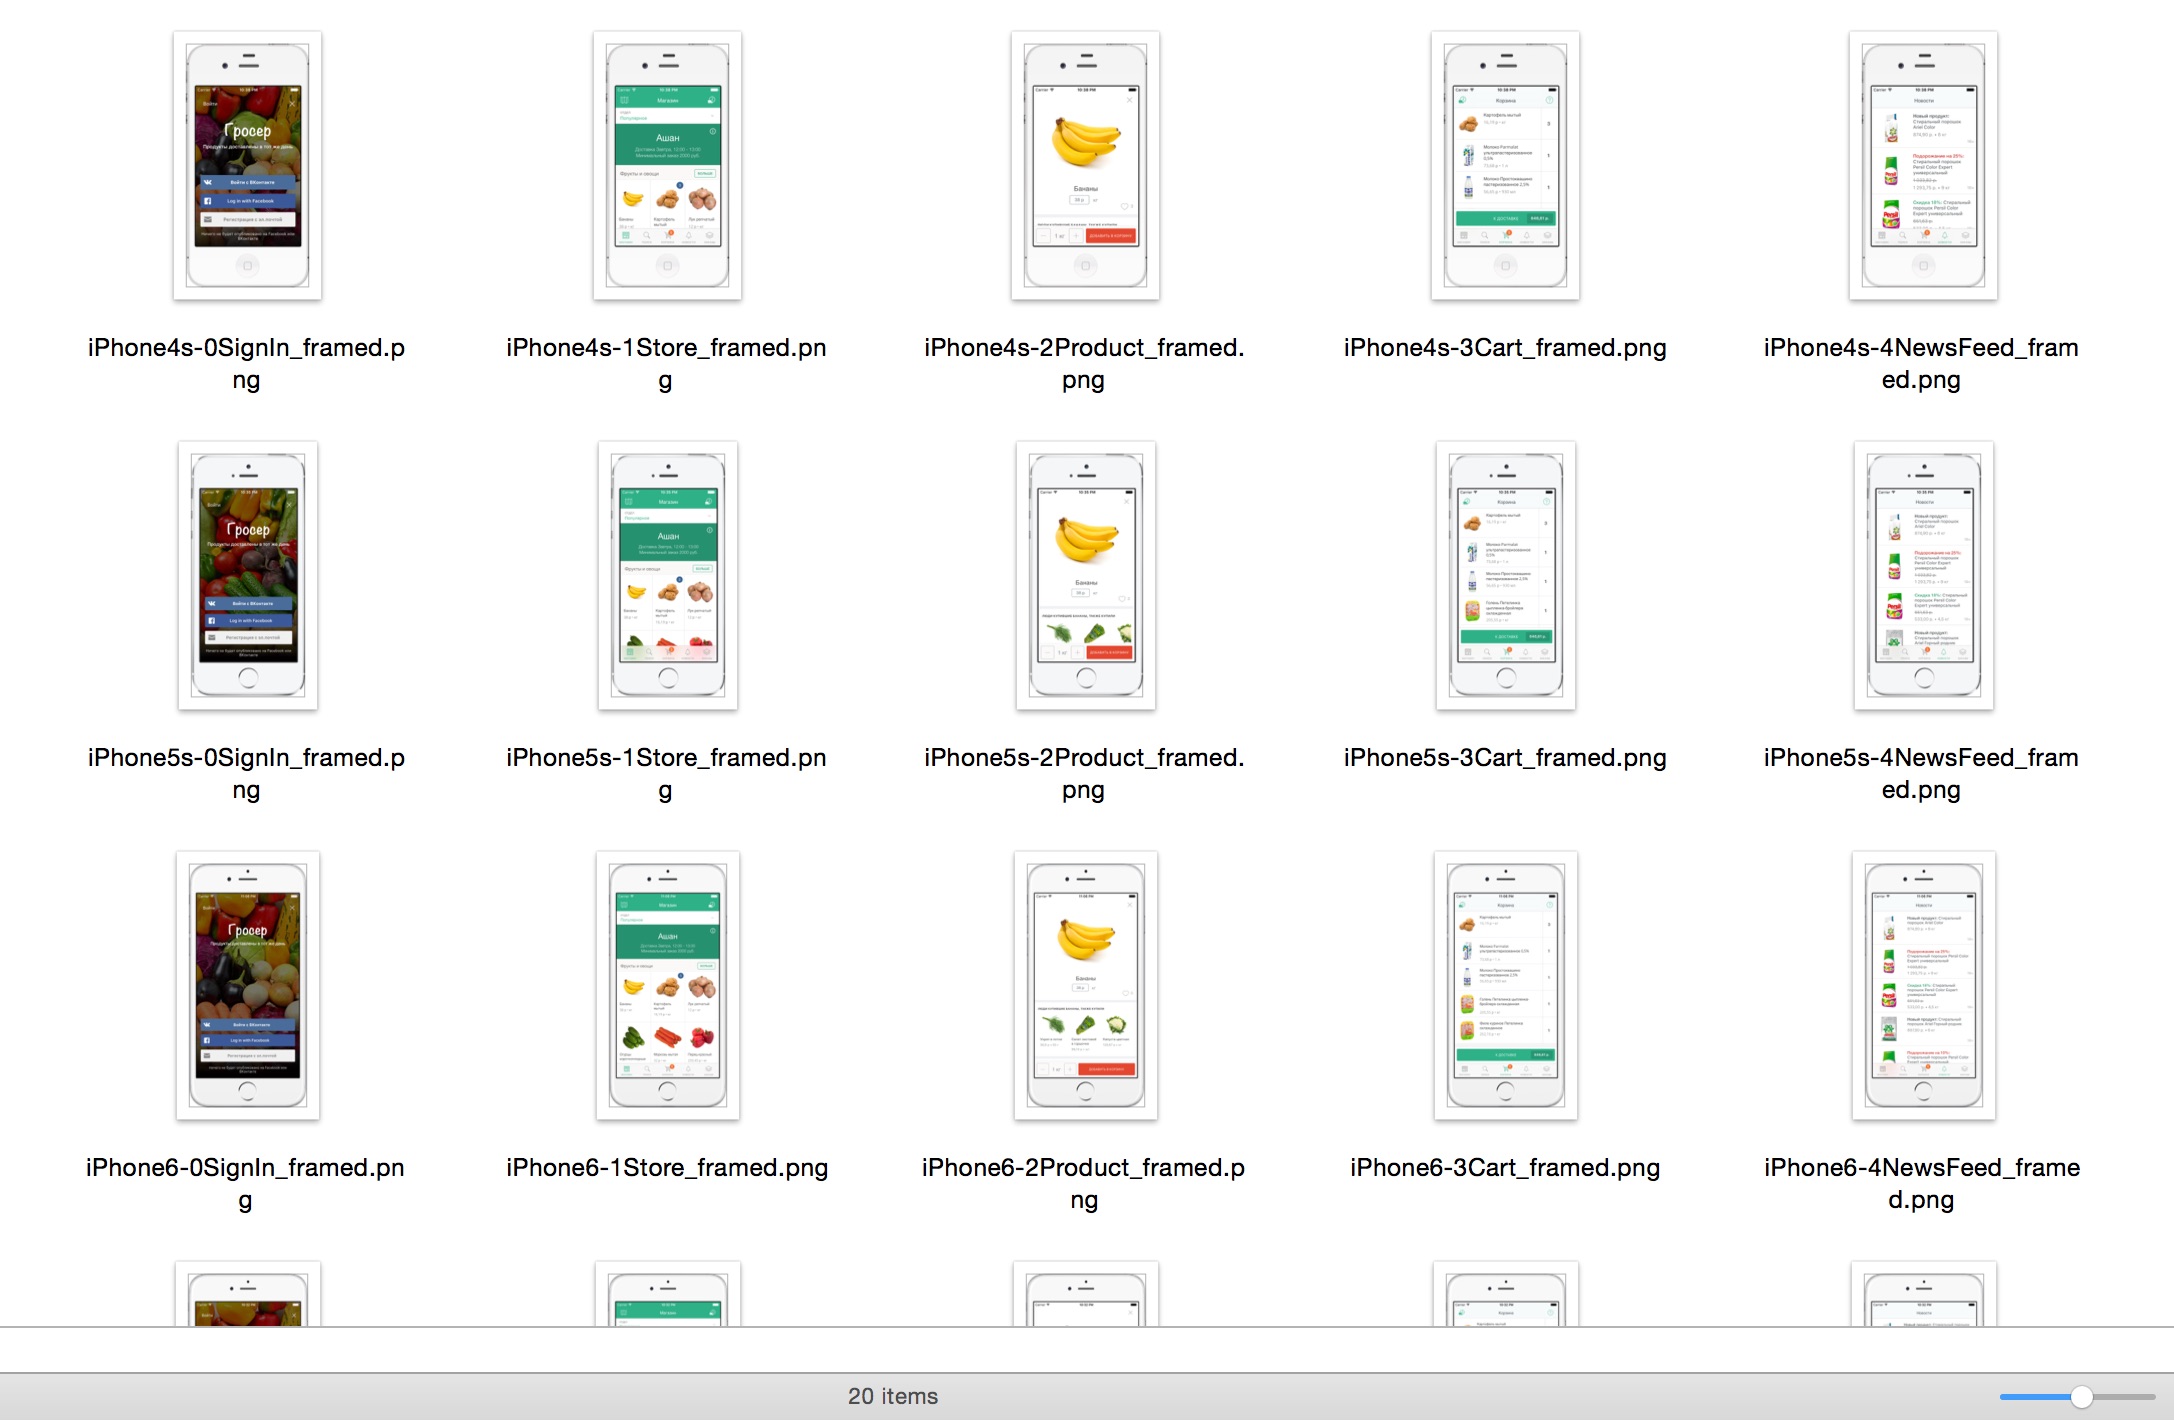 Framed Screenshots
 Single Framed Screenshot
Designing Screenshots
Even though frameit offers advanced options to specify background, custom text and fonts for screenshots, I thought it was too limiting and preferred more visual way. I’ve found two great Sketch templates, this and that one from Meng To.
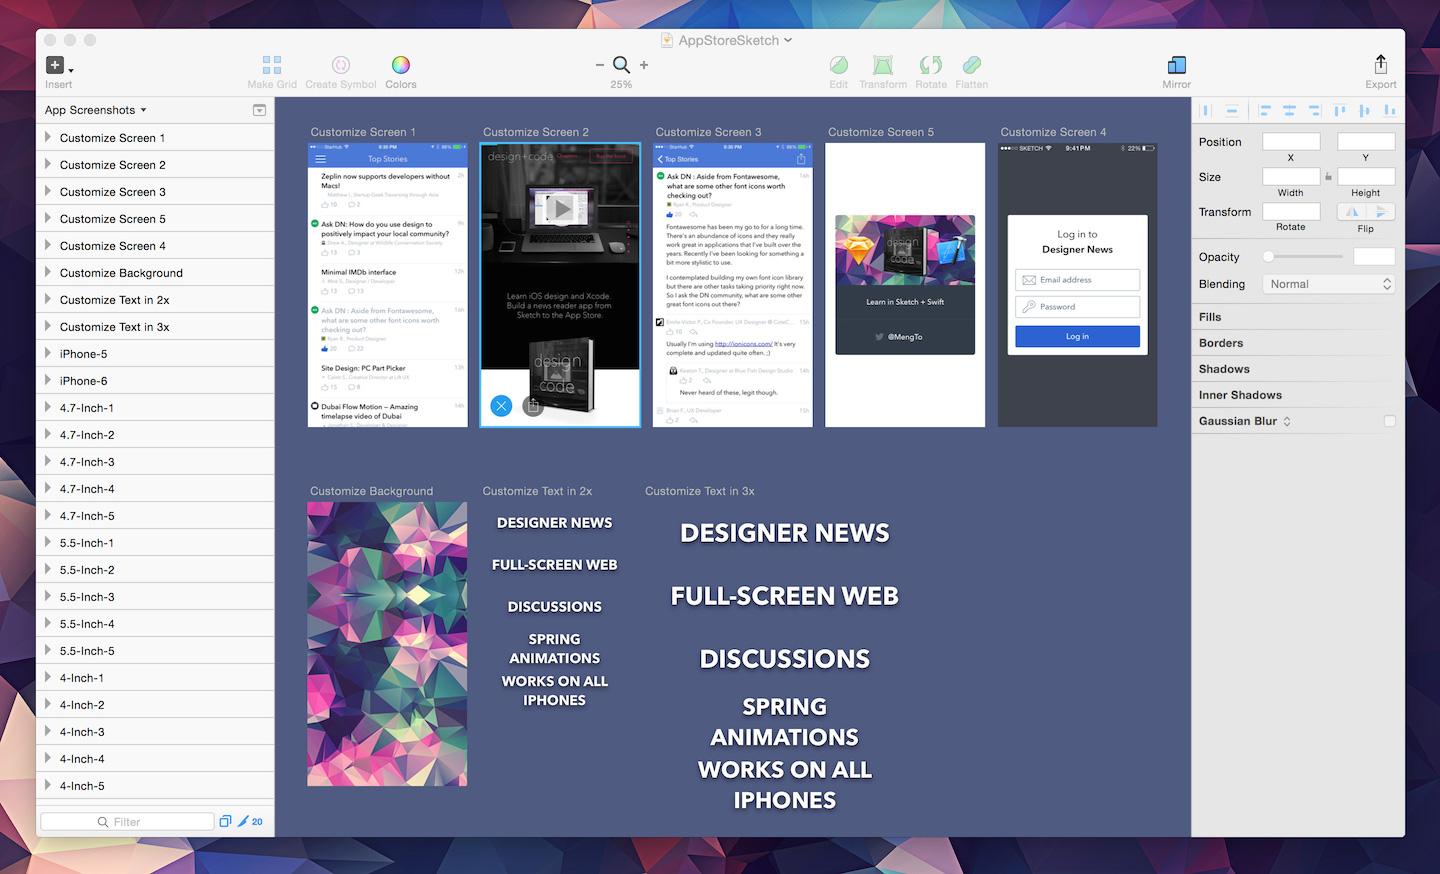 Sketch Template from Meng To
Turns out, I won’t need framed screenshots, because Sketch template I will use already contains device frames. I will adapt Sketch template from Meng To. Framed screenshots will be useful for other marketing materials.
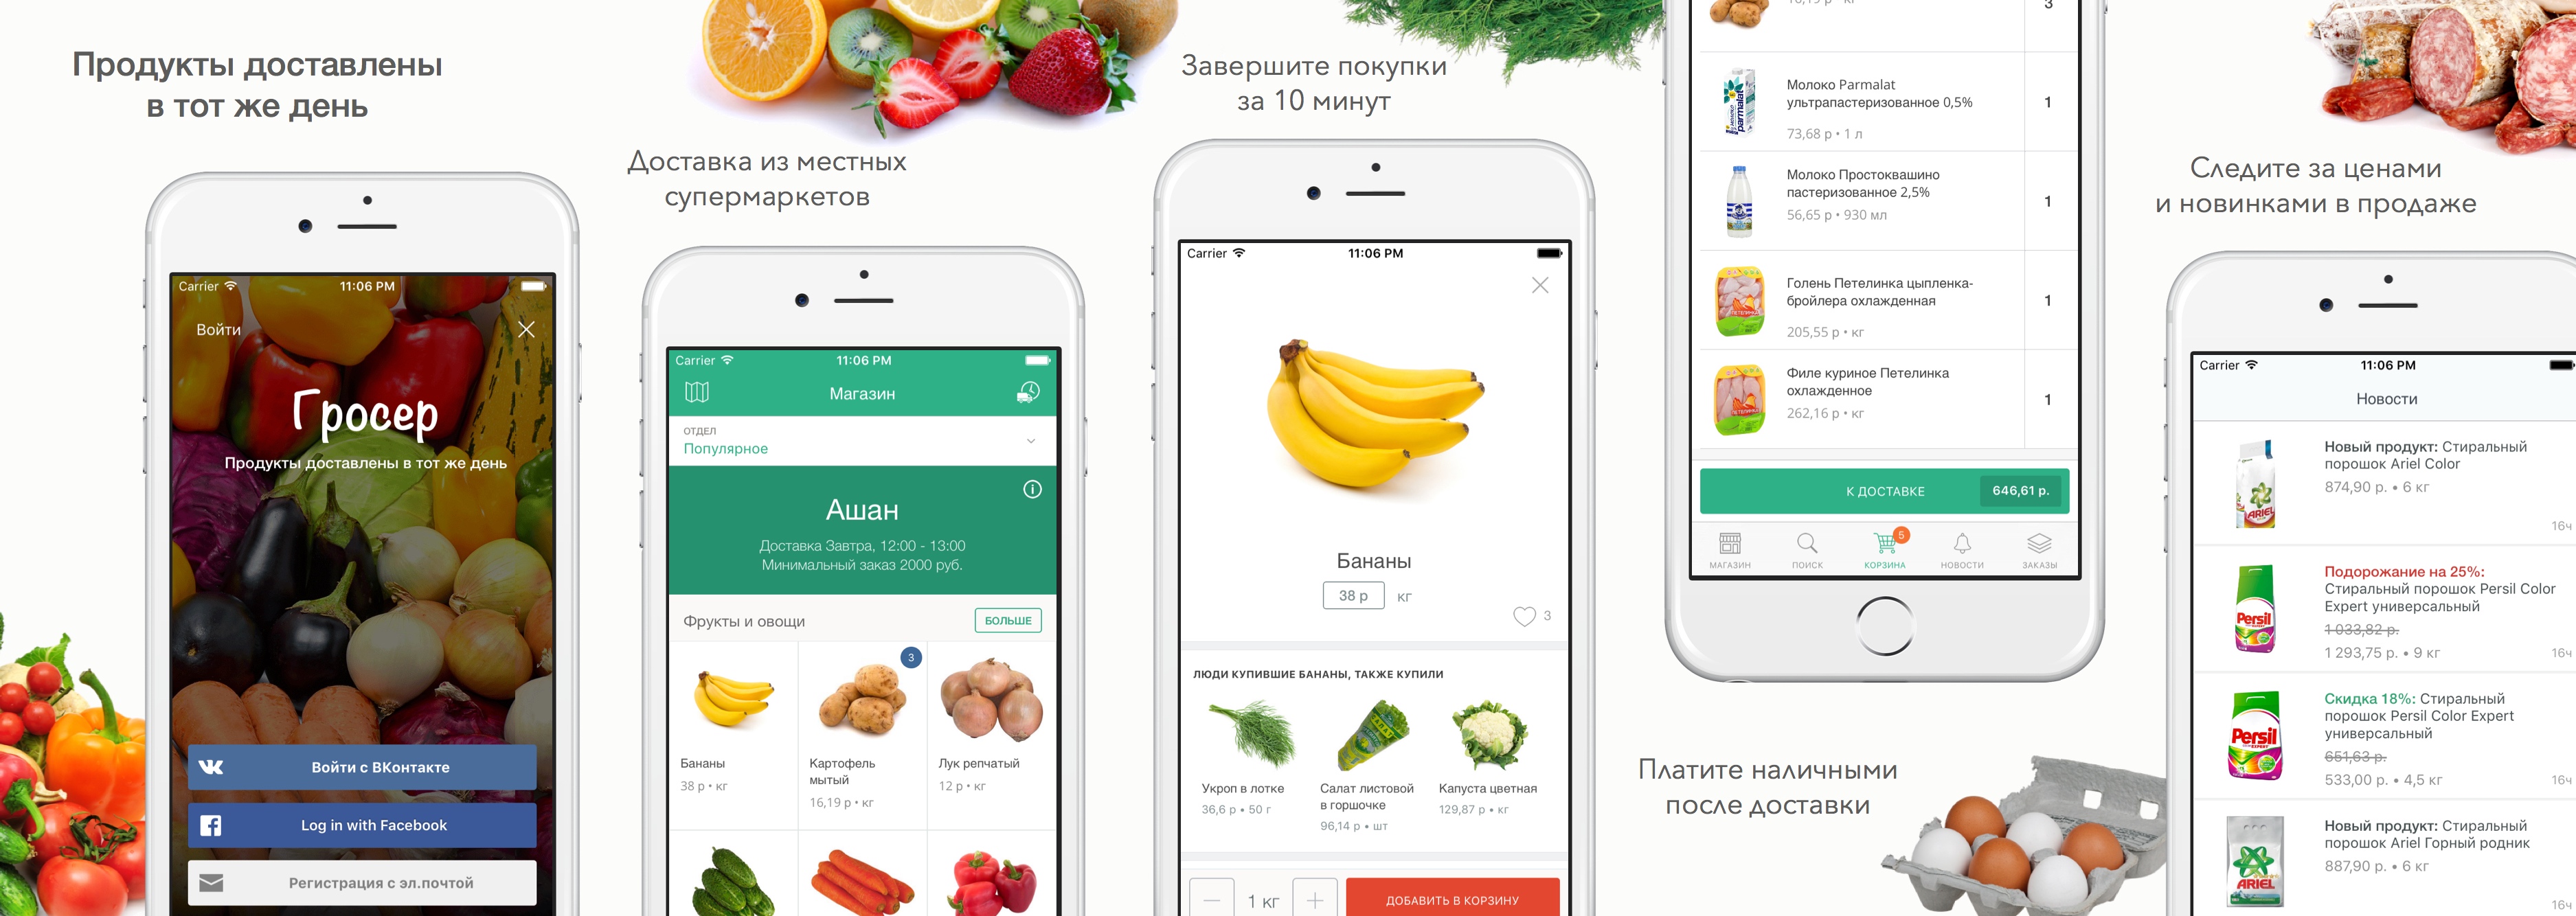
After some experimentation here is my final Sketch Template for Groser app App Store screenshots:
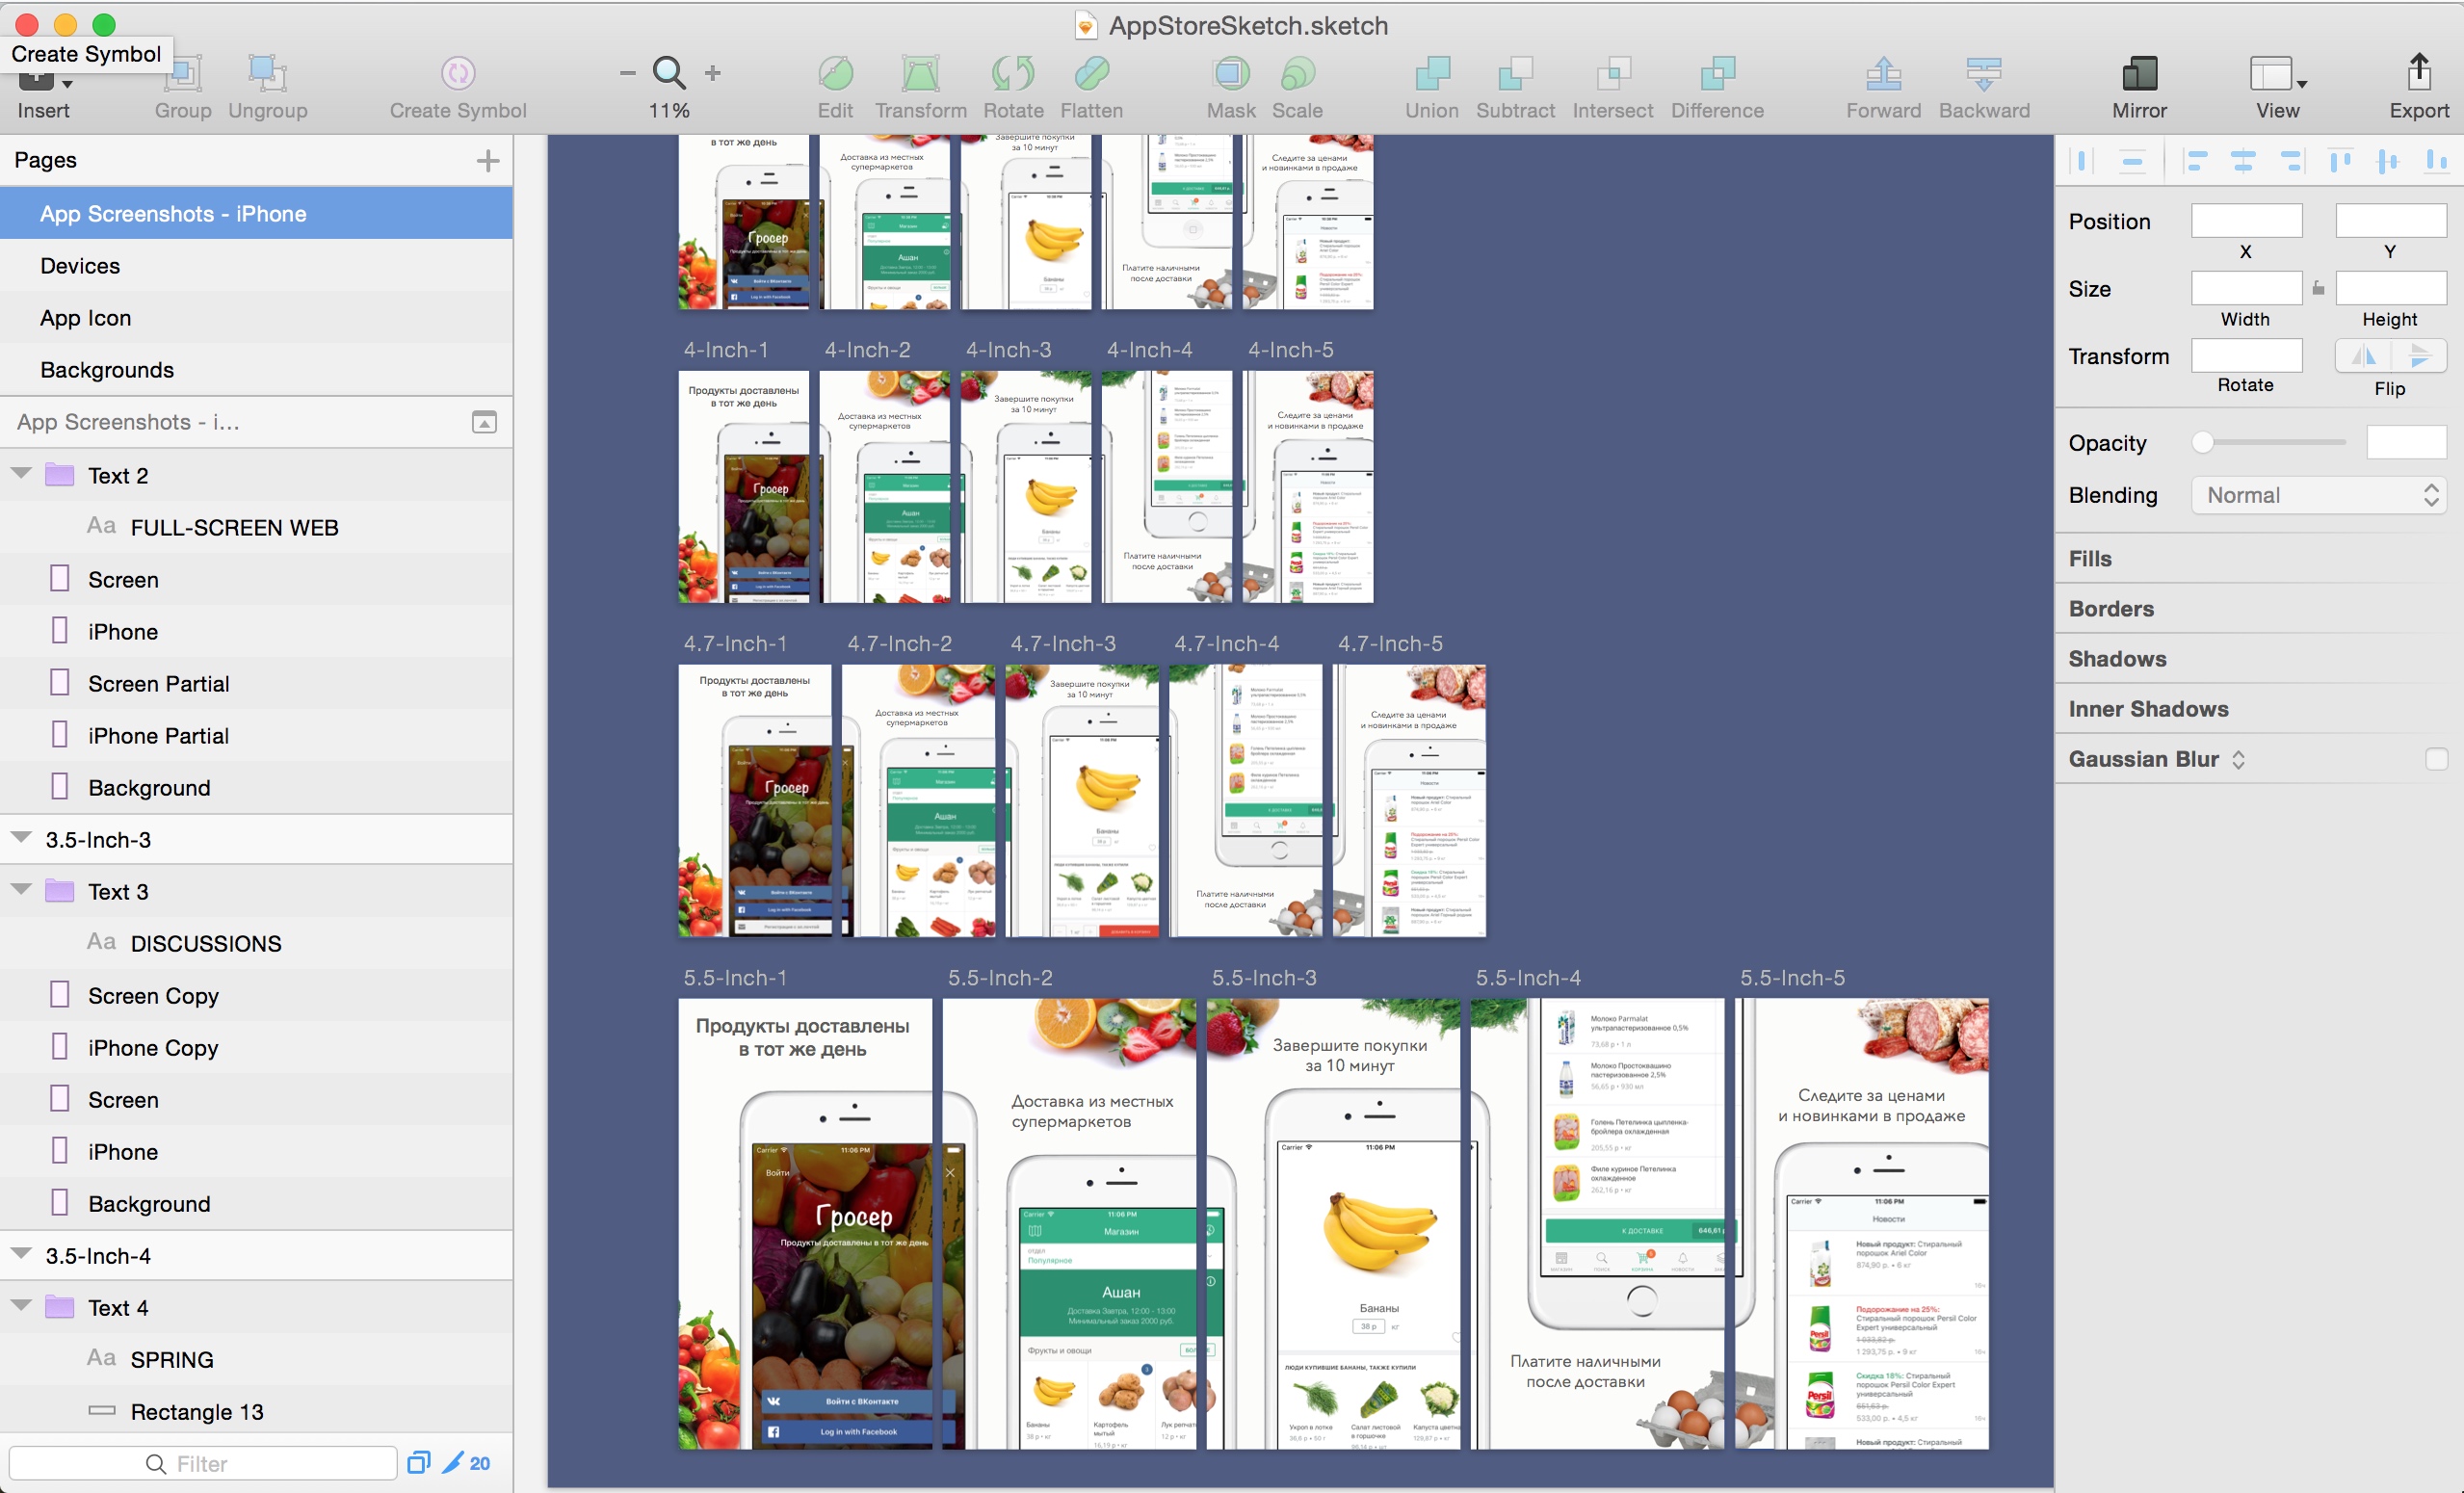 Groser Sketch Template
I added iPhone 4 device frame and configured 3.5” screen placeholders. Exported iPhone 6 sized screenshots:
And here is the Sketch template I used.
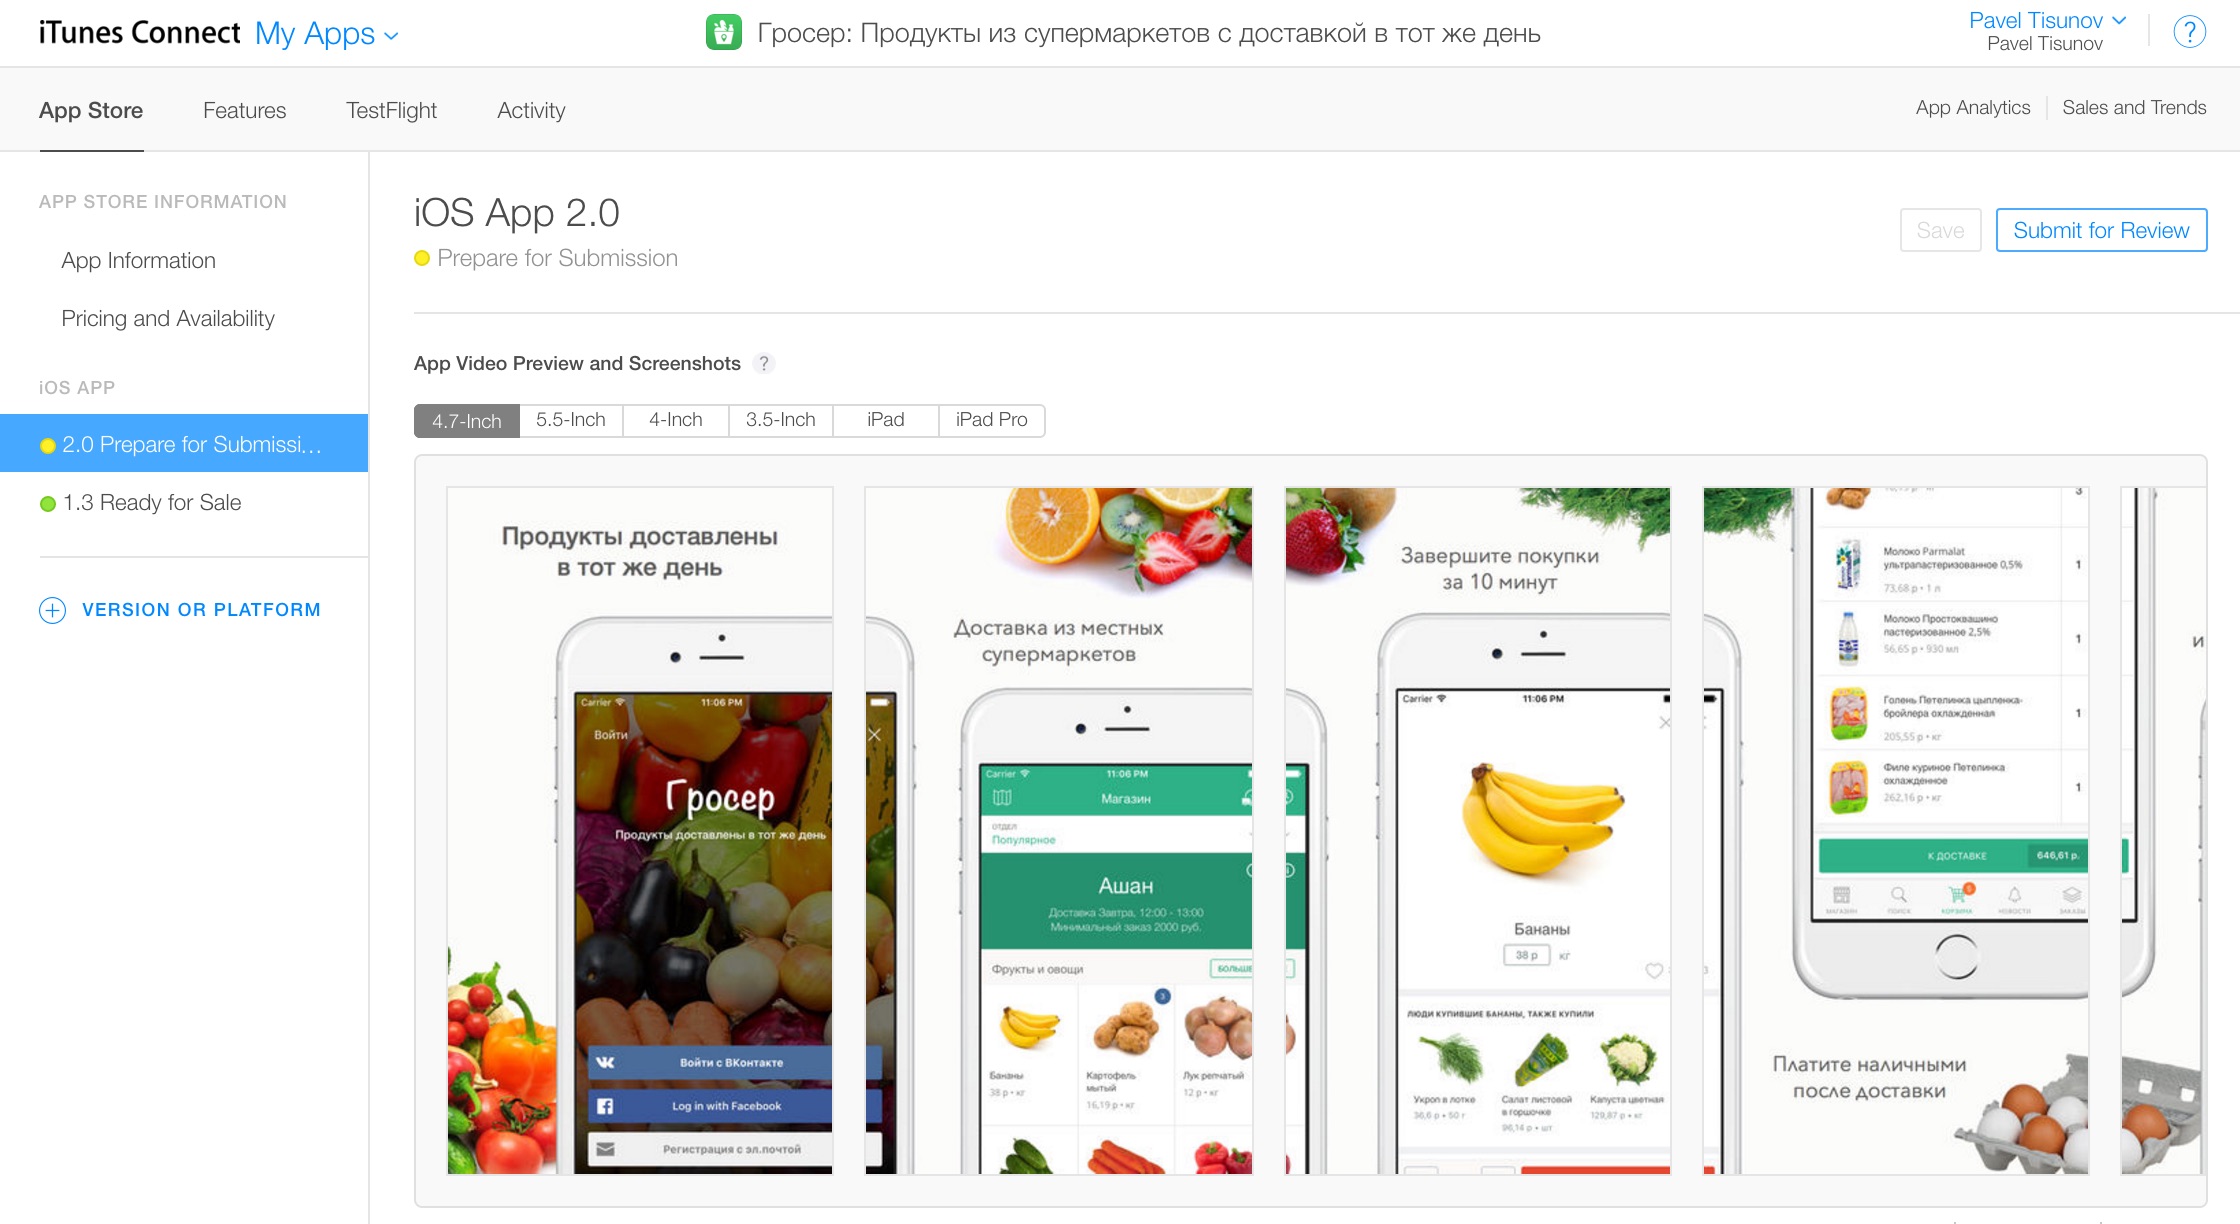
Upload to iTunes Connect
I’d like to give a try to Fastlane deliver tool.
![]() Upload screenshots, metadata and your app to the App Store using a single command
Upload screenshots, metadata and your app to the App Store using a single command
Create ./screenshots-app-store/ru directory in Xcode project dir and export screenshots from Sketch. Next, create Deliverfile and configure it:
app_identifier "com.brightstripe.Groser"
username "tisunov.pavel@gmail.com"

skip_metadata true
submit_for_review false
screenshots_path ./screenshots-app-store
That’s it, deliver will detect screenshot device by image size, so no further configuration needed, fire up deliver run and grab some coffee while it works:
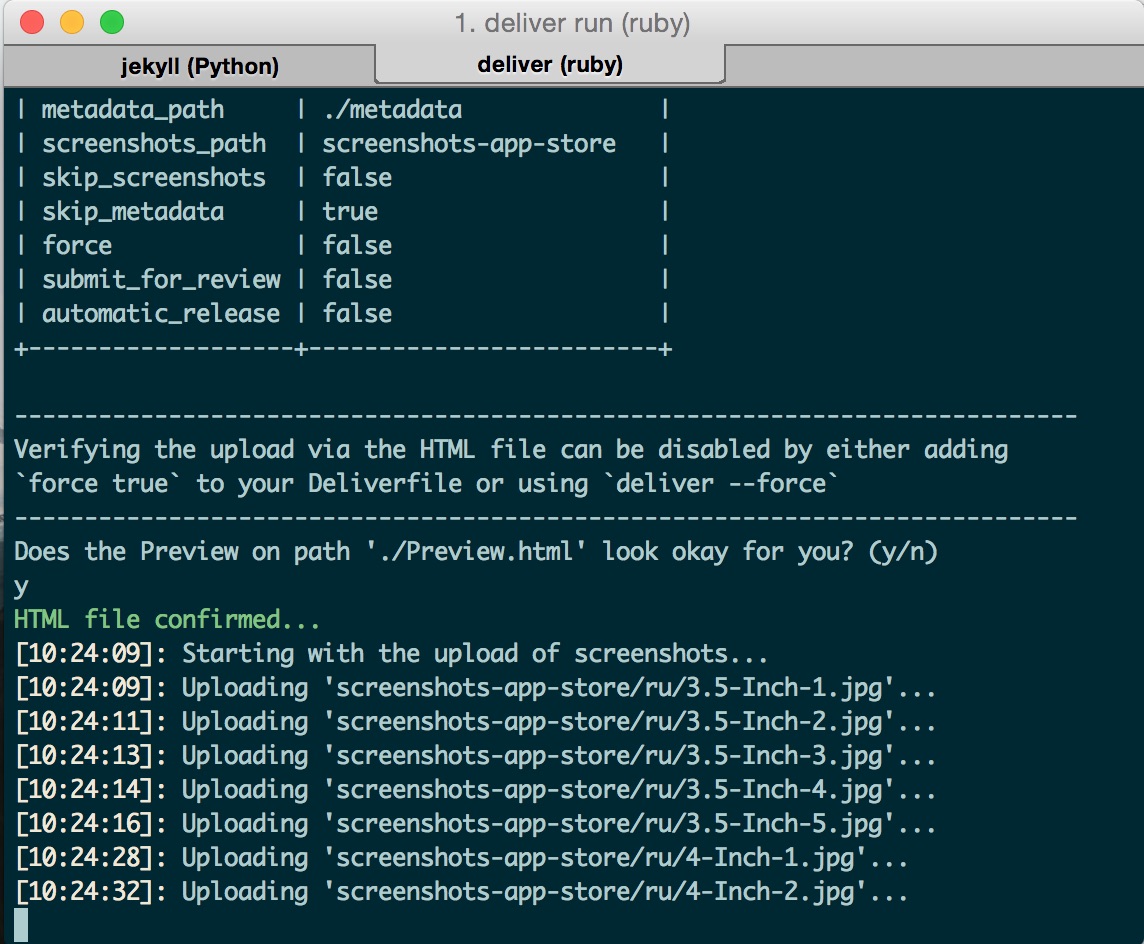 Screenshots delivery in progress
And just like magic!
Conclusion
I can’t imagine handling app store screenshots any other way, once I tried snapshot and deliver. Thank you Felix Krause for building these amazing tools and saving us all tons of time!
Thanks for reading! What do you think? Any way to improve what I did here?